
I’ve been shooting archery targets for a while now, and I always struggled in the past to get an archery target that I really liked.
I’ve tried ones like these that are bags:
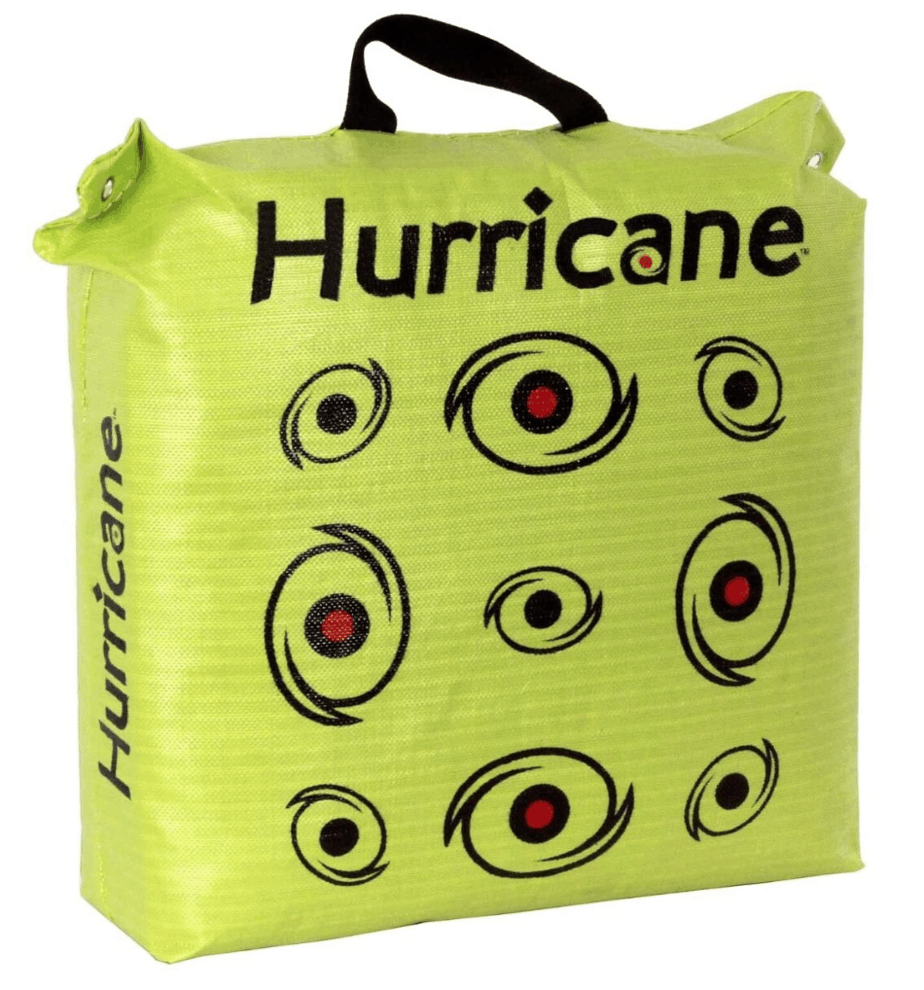
They are small and compact, which is great when you are traveling or short on space in the car or truck.
I’ve got an archery target like this:
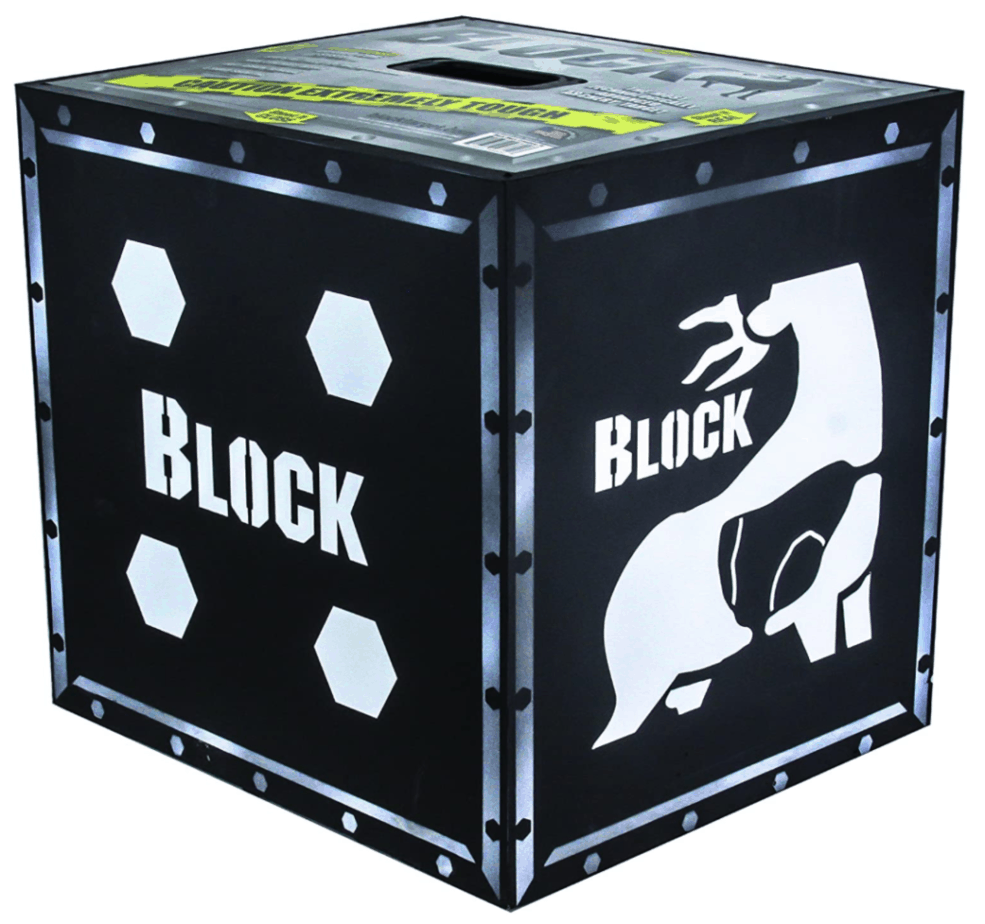
I thought this target was going to be really great and not wear out as fast as the bag. But this type of target is very hard to pull your arrows out. It takes a lot of effort, and let’s be honest, we want all that effort going into shooting the arrow, not removing it.
After trying out many different types of targets, I found my favorite one.
The Best Foam Archery Target
I love this target. A lot. And I’ll explain why!
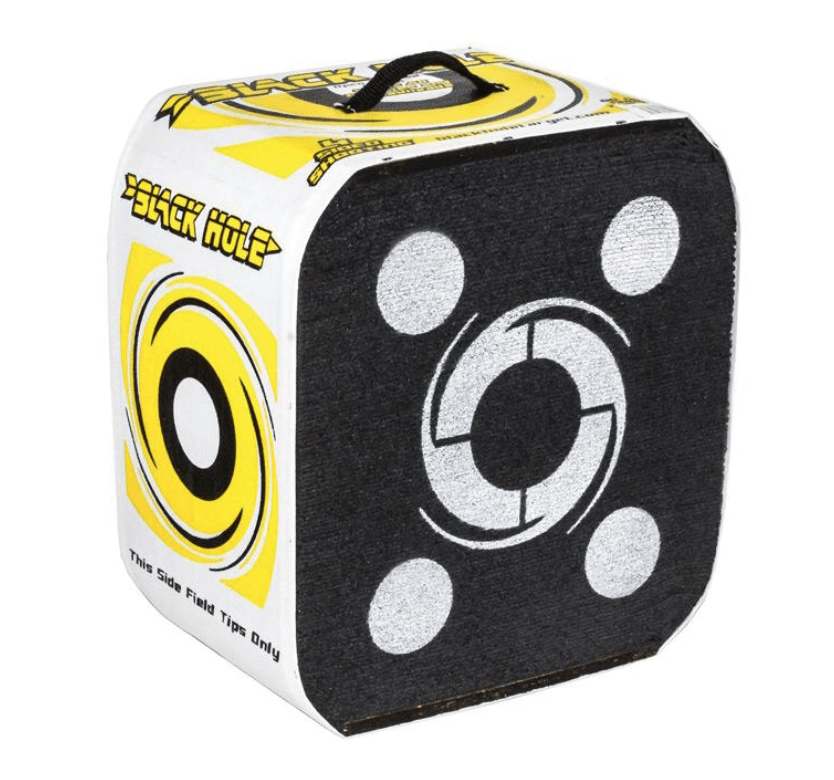
This is my favorite target because of the material. My arrows aren’t too hard to pull out, unlike this dense, solid target. With the foam archery target, my broad head arrows come out much easier and cleaner. I found that it takes about 3000 shots before I’m ready for a new target. That’s a lot of archery practice!
What I didn’t like about this target is the design of the bulls-eye. It doesn’t feel tight enough. I flipped the target around and found that the backside is where I saw the potential! It’s a blank canvas where you can design your own bulls-eye!
Customize Your Archery Target
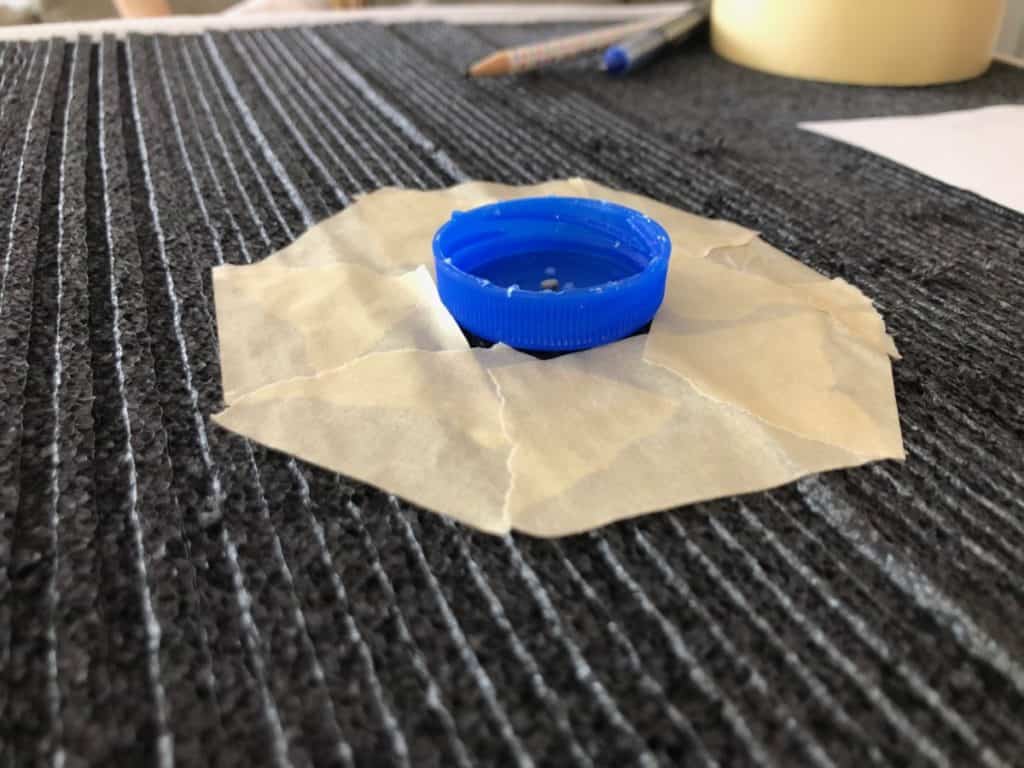
So here’s how I created my own customized archery target. I wanted to have a small center, about an inch. This way I can practice a tighter aim. I used a milk carton lid.
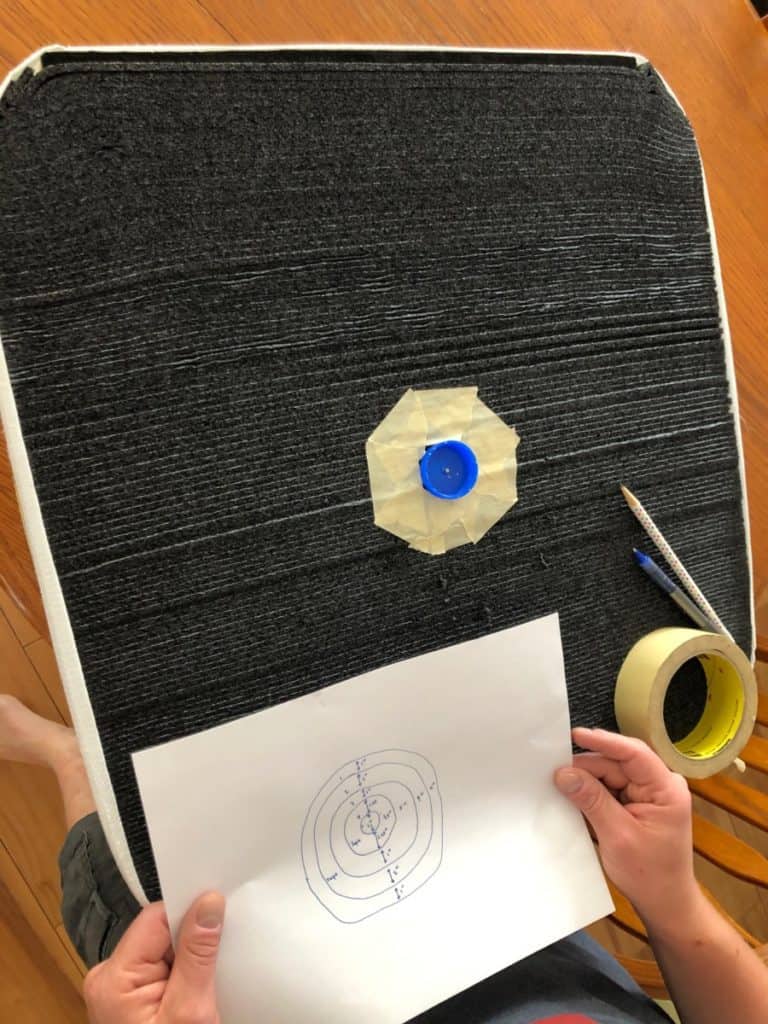
I used the lid as a template, and taped around it because I wanted the center white. I think it’s easier to see from a distance than black.
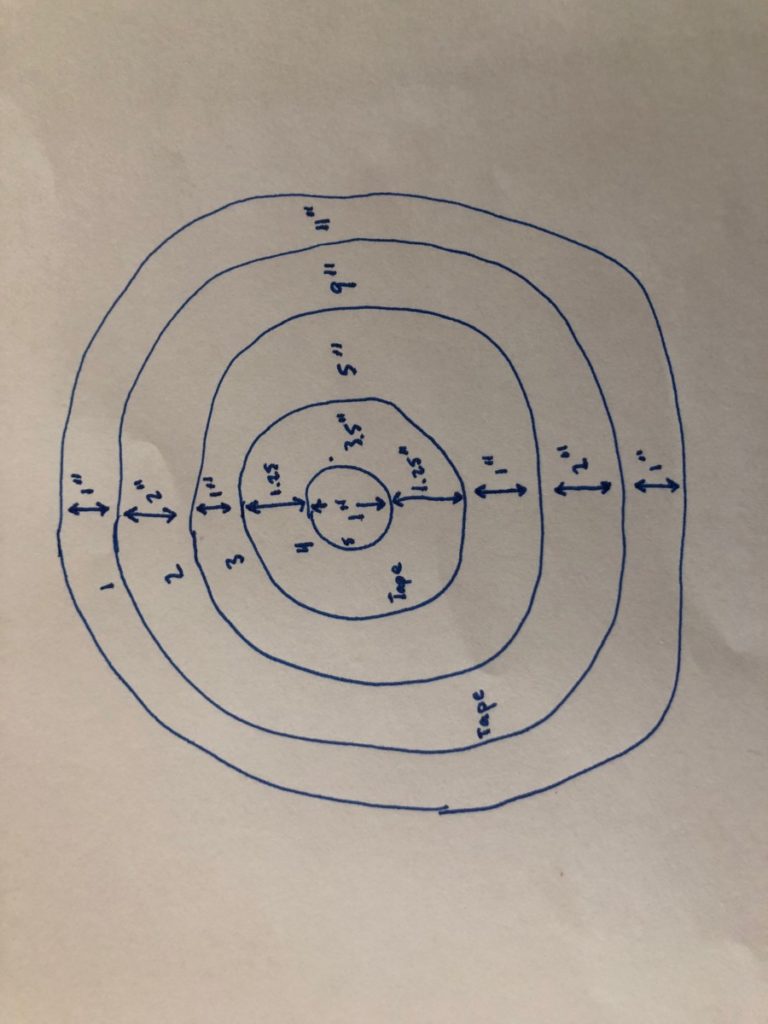
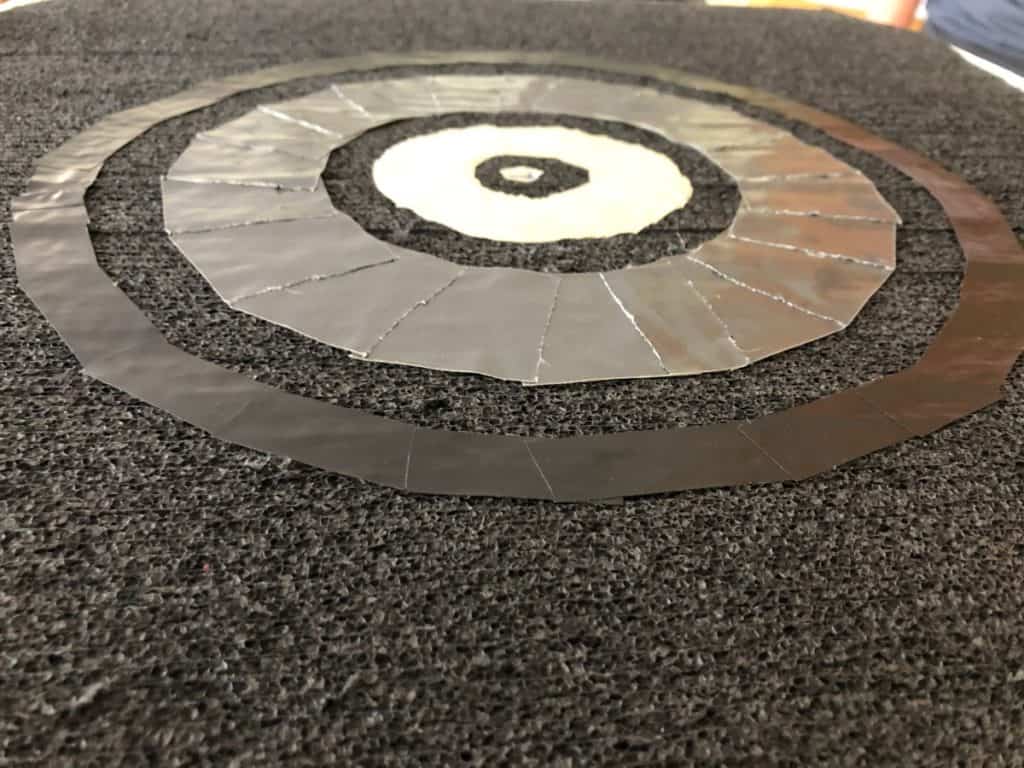
I did make a chart before I started so I knew what the rough dimensions were. You can use the same dimensions or create your own.
I kept adding tape in circles to give myself a good way to track points when I’m shooting. The closer you get to the center, the more points you earn. This comes in handy when you are tracking and practicing your aim.
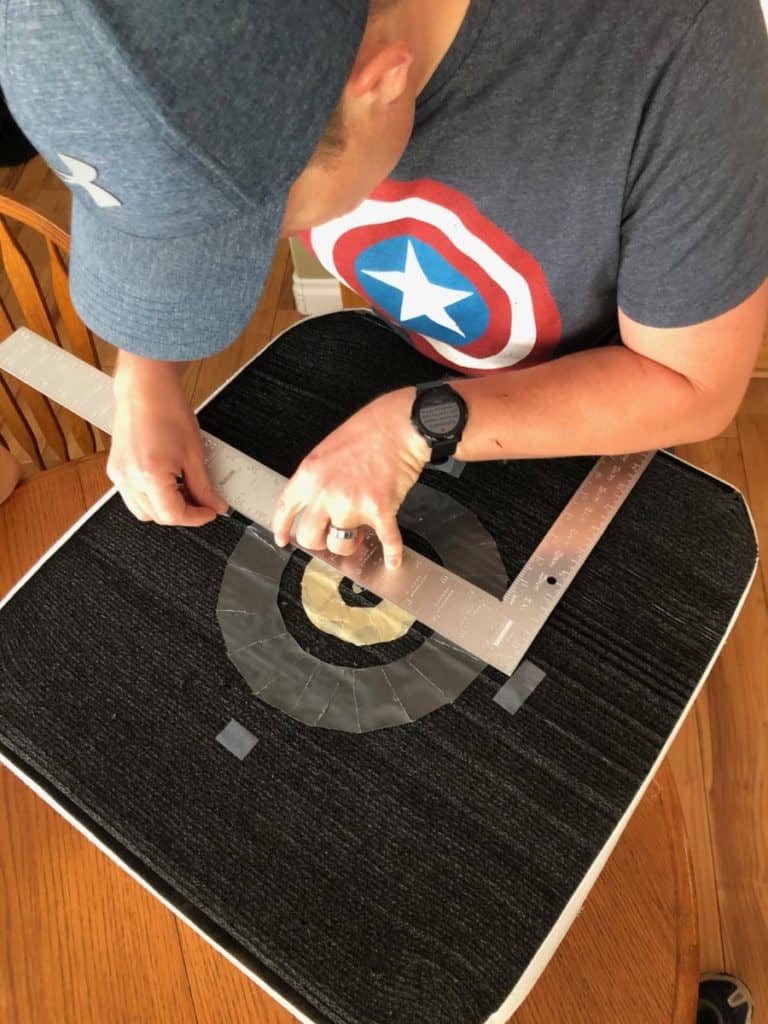
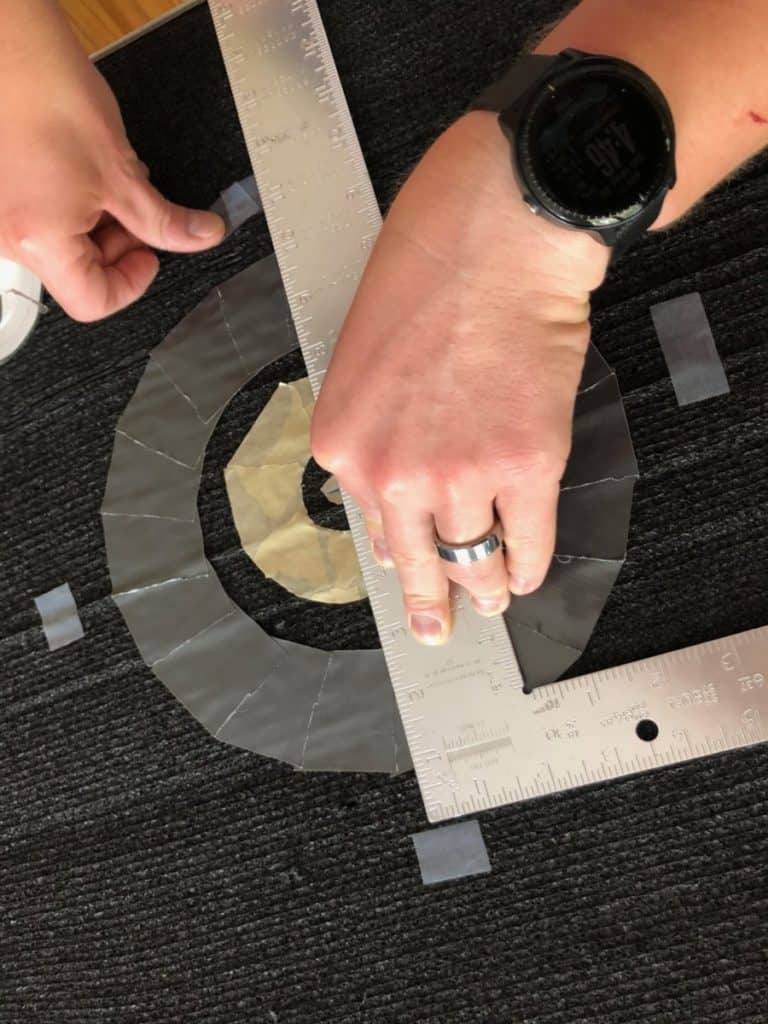
Duck tape is wider, so I used that after I got the inside, smaller circle working.
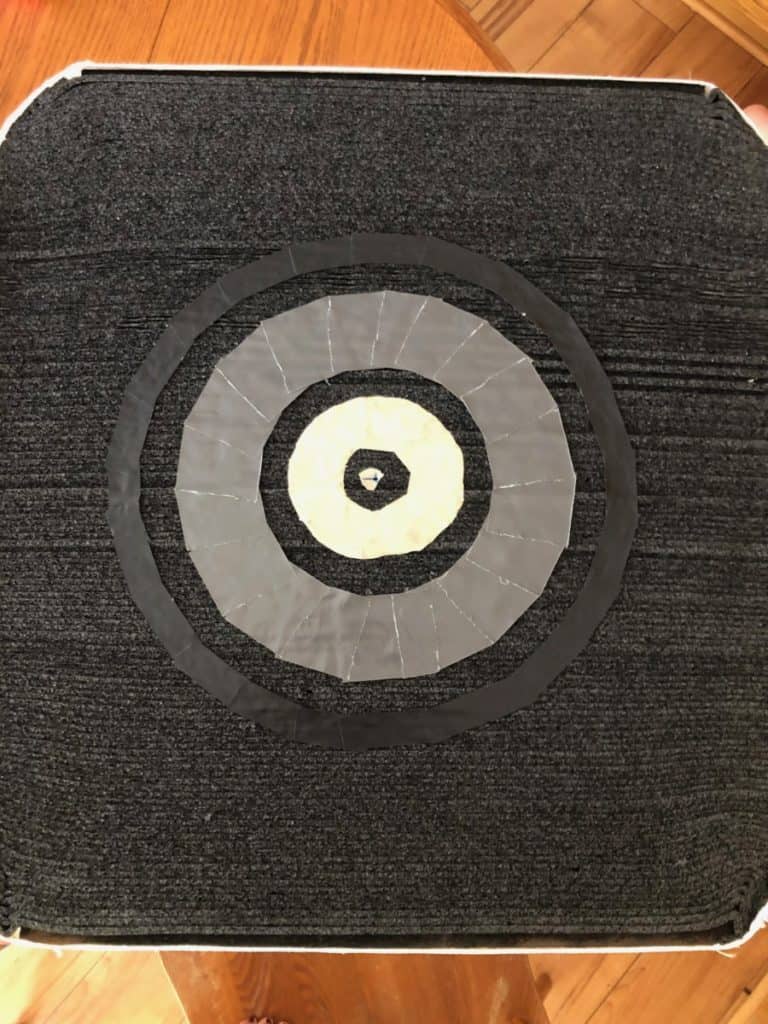
I also used electrical tape.
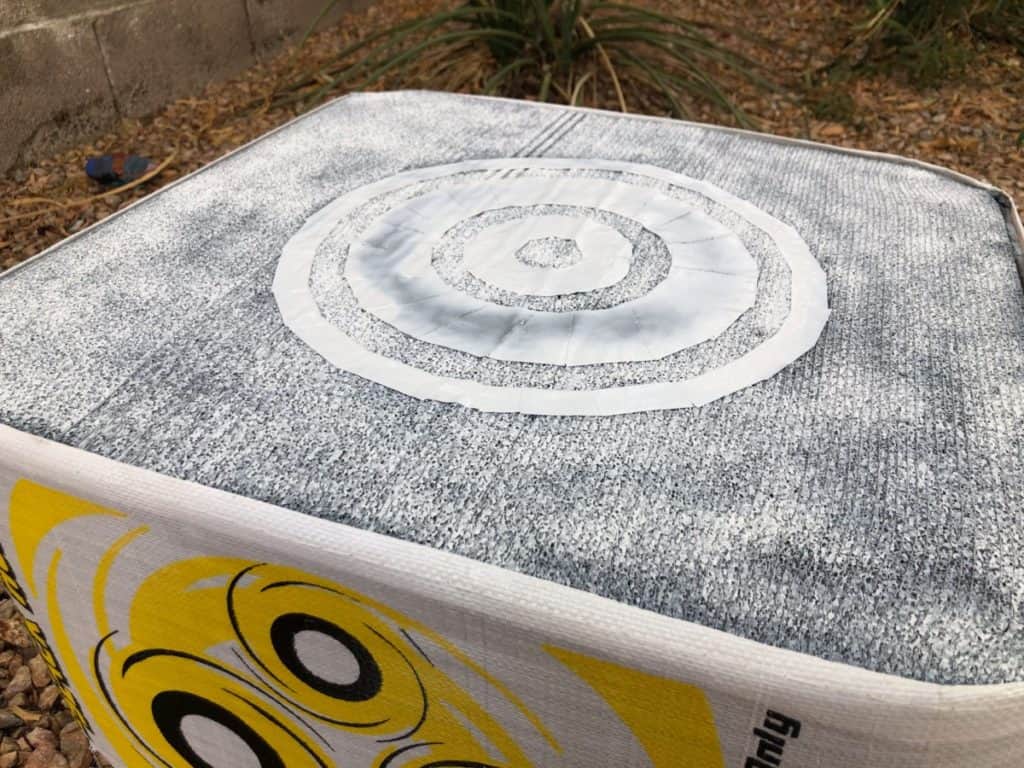
Then came the fun part. You just give it some spray paint! Really, you could use neon yellow if you wanted. Maybe orange is easier for you to see! You decide on a color that works best for you.
I gave my target two coats of paint. I let the first one dry for a few minutes, then gave it another coat. It makes the design stand out better. I didn’t want the paint to run, either, so I did two lighter coats.
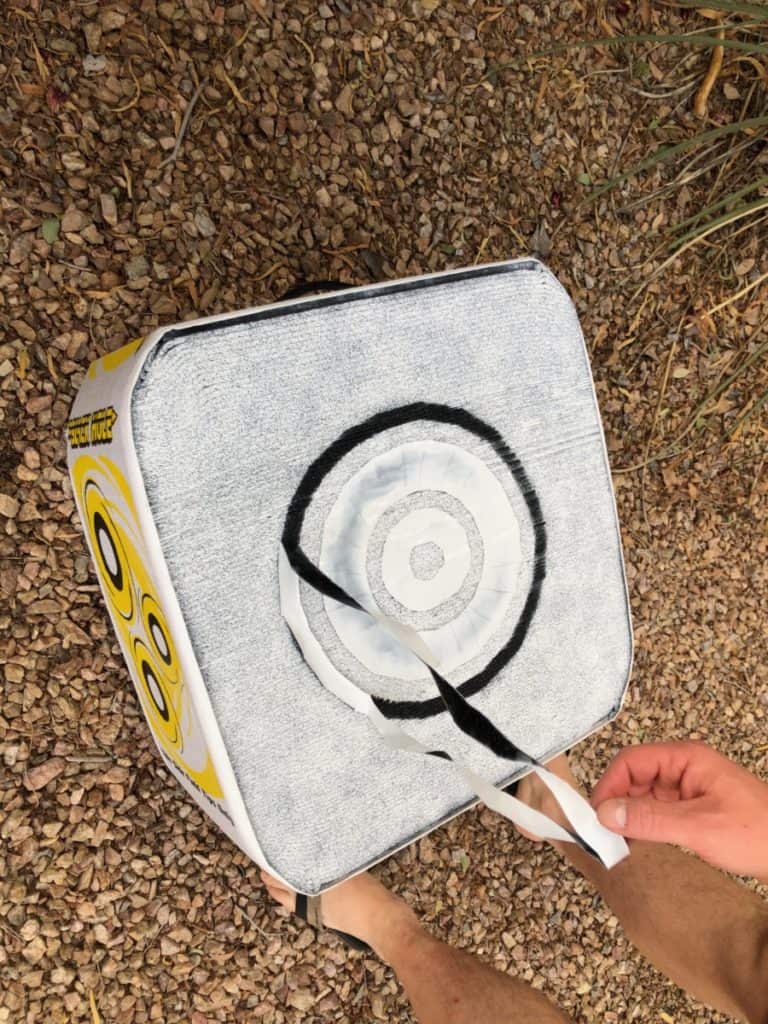
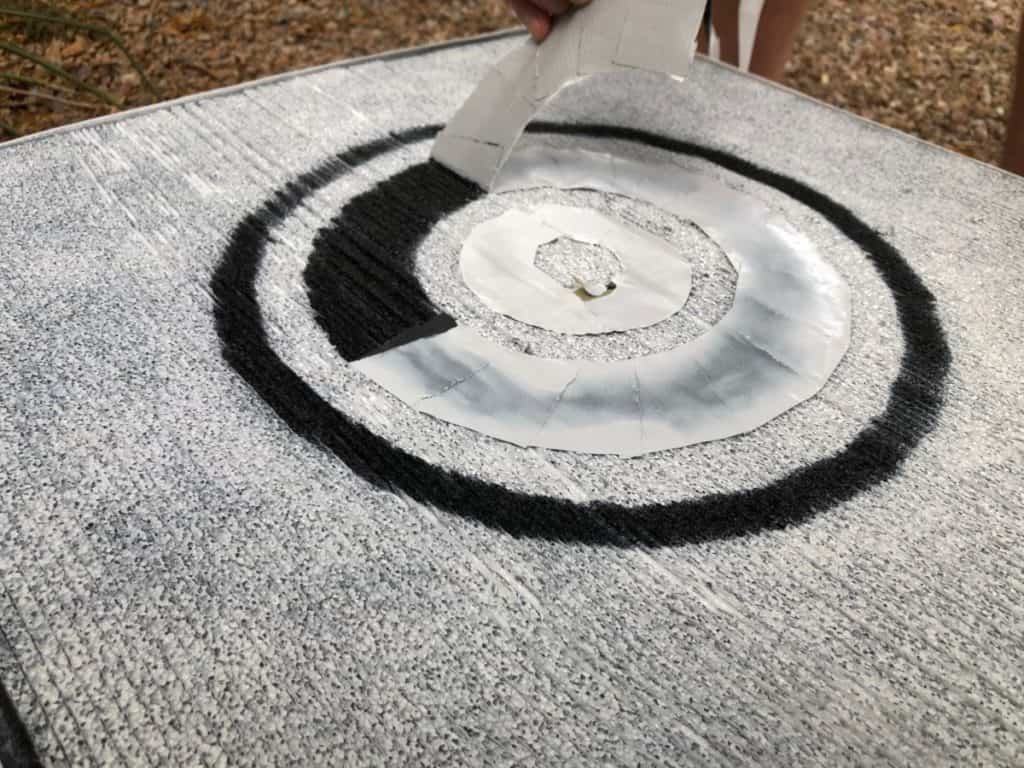
Then just peel off the tape! Voila! It’s the best, customized foam archery target in my opinion!
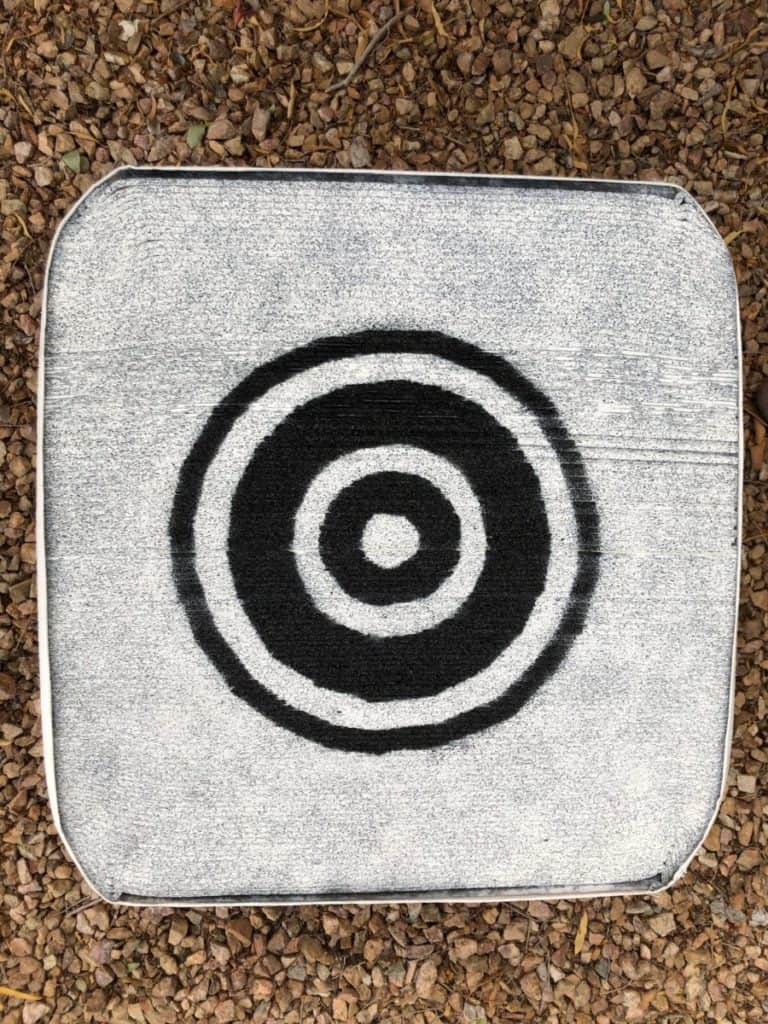
I’m really happy with the thick and thin lines, the design and the ability I will have to track some points to improve my aim.
The sky is the limit with the back side of this target. It’s my favorite target, and now it finally has a good design I can work with.
If you like this and want to try it, click here for this awesome foam target.
Good luck with your design!